Saturday, February 17, 2018

Musket Action: French & Indian Wars

Chris & I were supposed to be heading off a kayaking trip to Port Davey today but the skipper of the fishing boat taking the party down there decided it was too rough to round the capes tomorrow & postponed the start for a day.  So of course we had  a wargame instead - fighting Musket Action - our variant of Bolt Action for the Musket era.  We used the same forces as Chris & Steve used last Sunday.  Chris took the French this time.
The Brits on the far side have Inexp Continental Regulars in the orchard on their right, their gun & cavalry in the centre, Regular British infantry left centre & Indians in the woods on their left.   The French Have Indians on theor left, gun & cavalry in the centre, Regular infantry on their right & Canadian militia on their right.
The Brits make a general advance while  moving their cavalry to their right flank.
In the main event, the firefight between the regular battalions the Brits, supported by a Contintal coy on their right are getting the upper hand.  The Brit's Indians are also doing well against the Militia in the woods.
The British cavalry have come out to play.  The French counter-charged them but were driven back. The French have got one win on the their right - breaking the Brit grenadier coy, but they have lost a lot of men in the orchard. 
A second charge by the British cavalry has finished off the French Hussars.  The French line is breaking as the Continentals close in on their flank.  With French now well below half strength & the Brits losses just 1 grenadier coy & 1 Indian warband, the French conceded. 

This was just out 3rd game with these rules & they are still evolving in the light of experience, but already they are very easy to play & good fun.  The game rips along - it took just 1 1/2 hours to do 6 turns & reach a decisive conclusion. 


Tuesday, February 13, 2018

Shenandoah Campaign: Battle of New Town

After the fight at Strasburg Banks fell back towards his main supply base at Winchester.  Jackson took Ewell's division to follow in hot pursuit while his own divisionstayed at Strasburg recuperating from the battle & looking for abandoned Union supplies & equipment.  Around noon Banks stoped his retreat & stood to face Ewell at New Town.  Banks had ordered Shield's division to fall back from Front Royal & join him at New Town.  The campaign system includes random factors so Banks had to fight not knowing when Shields would arrive.  Jackson had no idea what was happening at Front Royal as he did not have direct communication with his troops in that area.

Because they had fought a battle, retired overnight, then retreated with enemy in pursuit Banks' force started the battle with loses carried forward from the battle plus some fatigue.   Ewell's Division arrived too late to fight at Strasburg & is fresh.
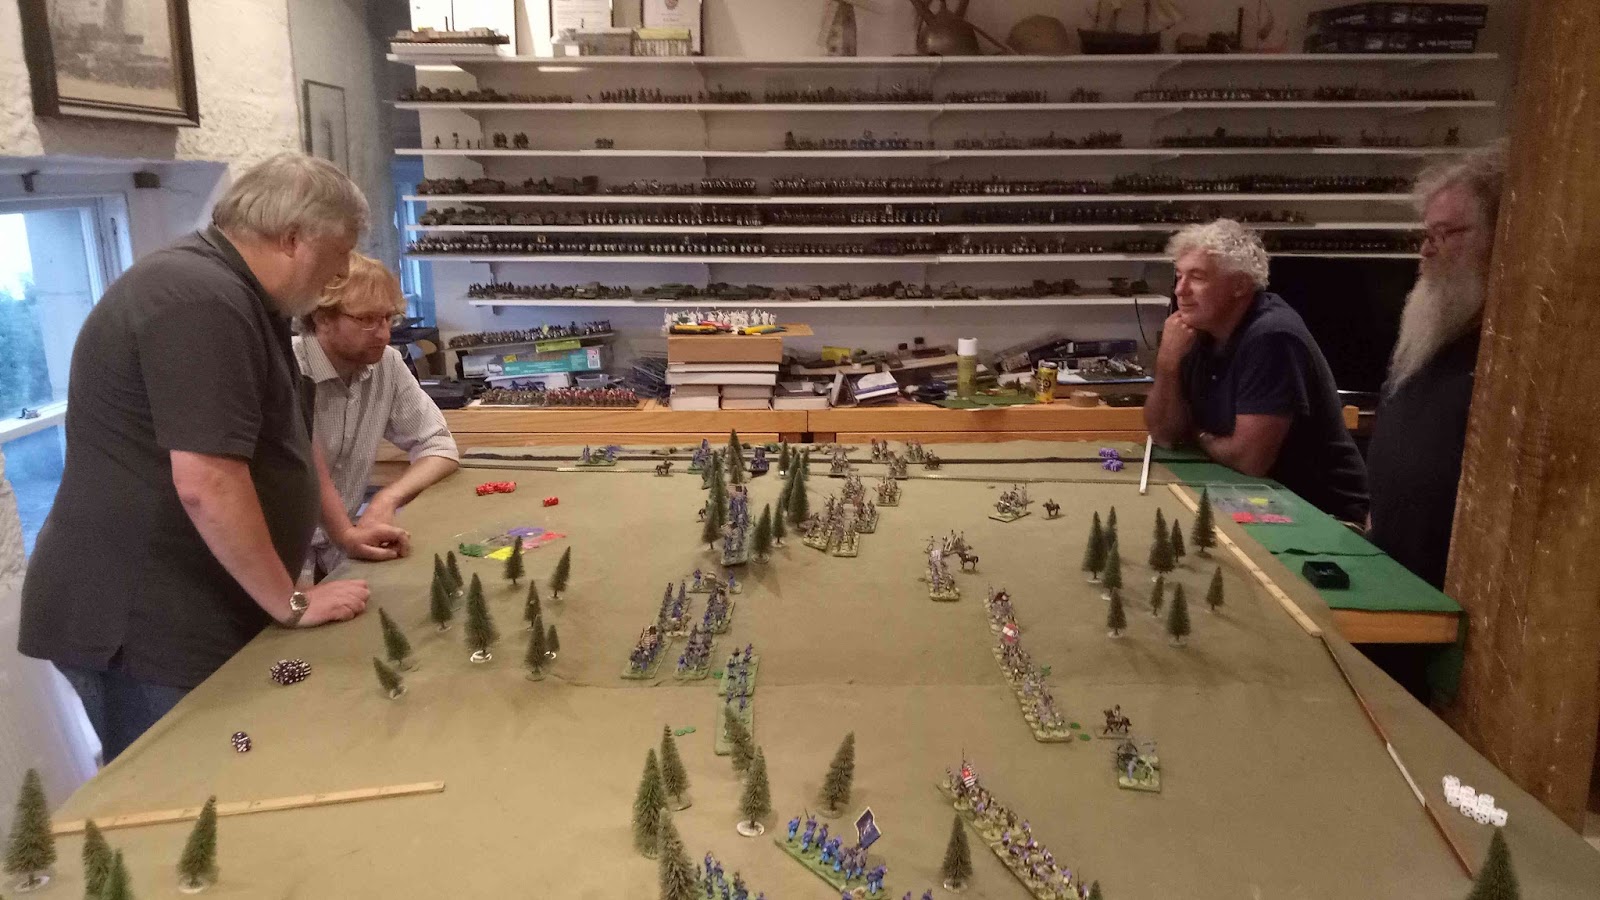
The Union force is on the left.  Their strongest brigade is on the left of the town, the weakest in reserve.  The CS forces are setting up a grand battery in front of the town & have weighted their left. Jackson is commanding their right, Ewell their left.
 The table included a special space for Banks' tummy.
 Banks sends his reserve to the right as Ewell advances on his flank.
Ewell charged the wood on this flank but bounced off heavy losses.  He pulled the lead brigade back to rally it & made a more measured attack with the 2nd brigade, this time with a skirmish screen out in front.  On the far flank Jackson has now sent 2 brigades forward to attack the Union left while his artillery pounds the town.
Jackson's attack on the right has driven the Union left back.  With Ewell driven back on his right, Banks has brought his reserve back to the centre to support his left.

Ewell has charged the wood again.  Softened up by the previous attack & the skirmishers, the Union defenders are now giving ground. The defenders of the Saloon & the Church have broken under the artillery bombardment & Jackson has now entered the town.  The Union reservre has stopped Jackson's advance on the right of the town.  The head of Shield's' column has finally appeared on the road through the forest.  (He was delayed in getting started with new orders this morning).
By the time night brought the combat to a close Jackson has taken the Whorehouse & the Bank to secure the town.  But he has had to pull back his right as Shields' column came out of the trees - though too late to actually fight. On this flank the dismounted US cavalry have done well in finishing off Ewell's 1st brigade, but his 2nd brigade has almost cleared the wood of defenders.

The Union have lost 7 units broken, the Rebs have lost 5.  Most of the engaged units have heavy casualties & Banks' division is severely fatigued as well.   As neither side had broken or conceded,  immediately after dark troops must retire 12" to be 24" from the enemy unless they are in cover then their opponents in the open must retire 24".  So Banks has to pull back from the town.  Both sides now have the option of retiring overnight or regrouping to continue the battle in the morning.  It's a tough decision.  Banks' weary force did well today, but is now even more damaged & fatigued.  However, he now also has Shields' fresh division  on the battlefield.  Jackson's force has high casualties, but his other division is now rested up after the previous battle & is not far away.

Sunday, February 11, 2018

French & Indian Wars: Musket Action at Good Games

2 weeks ago we fought our first battle using Musket Action, our house ruled variant of Bolt Action for brigade scale actions in the age of the musket.  We fought that battle in the American Civil War era. Since then I have raised enough troops to do a battle in the French & Indian Wars - an ideal period for this scale of action.  (Indeed, the main driver of MA is an excuse to paint some cool troops with three cornered hats).  This Sunday Chris commanded the Brits v. Steve's French in our 2nd go at Musket Action.
The Brits are on this side of the table.  To deploy, a command dice was put in the bag for each troop type on each side & troops were deployed within 12" of own table edge without moving or firing ina deployment turn.
On the right, the French Indians are driving the British Indians back thru the wood.  Right of centre the regulars of each side are exchanging volleys.  The French hussars have tried charging the British grenadiers but have bounced off.  On the left, the Colonial Regulars & British Dragoons are being shot at by Canadian militia as they move towards the centre & the main game. 
On the right the French Indians have overlapped the British line.  The hussars failed in a second charge at the grenadiers, but the grenadiers have blundered forwards into a ring of fire.  On the left side, the Colonials are keeping each other busy.
The British have lost over half their units & failed their army morale test (a Black Powder rule that seems appropriate & we'd lost count of the number turns anyway - about 7).    The Indians & French regulars have broken most of the British regulars.  The Canadian militia & the gun have broken one of the Colonial coys.  The only British win was a cavalry charge that broke a Canadian militia coy - only to be broken in turn by musket fire.

Both sides had about 1,050 pts & 11-12 units, so a pretty standard BA sized action.   The 2 pages of rules for the BA-MA conversion is a whole lot easier to grasp than a whole new set of rules & though it was only our 2nd game of MA the players had no problems coping with the rules.  They clearly enjoyed it.  It took less than 2 hours - so maybe faster than standard BA & way quicker than any Sharp Practice or Muskets & Tomahawk game I've played.

Meanwhile John & Rusty were reading the Chain of Command rules on another table.

Tuesday, February 06, 2018

Shenandoah 1862 Campaign - May 23: Battle of Strasburg

The first action in our Shenandoah 1862 campaigns happened just south of Strasburg.   Bank's cavalry reported a large Confederate force marching up the turnpike from Mt Jackson.  He deployed the 4 infantry brigades he had at Strasburg just south of the town with his left flank on the North Fork River & a chain of wooded hills to aid his defence.  Jackson deployed & was ready to attack in the early afternoon with a force of about equal size.  The battlefield was set up by the umpire based on the actual ground from Google Earth.
The CSA is on the right.   At this stage some of the Union force is out of sight of the Rebs so is not on the table.
Jackson is attacking down the pike on his right while trying to pin down as much Union as possible on his left.  The Reb cavalry has galloped around the wooded hill to see a whole brigade covering the Union right flank.

The Union don't know it, but Jackson has Ewell's division coming down a back road just out of shot on this side of the battlefield.  Jackson doesn't know when Ewell will arrive - the earliest is 1/2 an hour playing time after the battle starts, but the actual time of arrival has been pre-determined by the umpire & kept secret. 
The CSA cavalry had run of bad command dice, missed the chance to take out the Union artillery & got shot up by the infantry in the woods.  Some hot shooting by the Reb gunners on the far flank forced the Union guns on the pike to retreat & the Union left is under pressure.
The Rebs pushed a way down the pike, but the attack on the hill has stalled.
It's still hard pounding on the far flank, but in the centre the Union rifles are taking their toll in a long range fire fire with the less well equipped Rebs.  Still no sign of Ewell. 
The head of Ewell's column has finally arrived on the Back Road.  But too late to save the Rebel left which broke under a sudden hail of Union sixes & CSA ones. 
With Ewell's arrival the Union are now making an orderly retreat.  Jackson's division is too battered to stop them.  The CSA have lost more casualties, but the bells will be ringing in Richmond.  As they hold the battlefield, the Rebs will recover more missing & wounded so the final butcher's bill will probably be pretty equal after the umpire's spreadsheet has done it's work.

We now go back to email campaign mode to work out what happens next.


Sunday, February 04, 2018

AWI at Barries: Sharp Practice

Due to a widespread deficiency in Brownie Points in the BA@GG crowd there was no action at Good Games this Sunday, so I went to Barrie's for another go at Sharp practice.
We did the same scenario as last week, but this time we knew a bit more about what we were doing. I commanded the Americans on this side of the table.  Darren & Jake commanded the Brits at the other end while Barrie was pretty well occupied looking up the rule book.   
The Americans sent skirmishers down the left flank & their regulars up the clear ground in the centre using woods to cover their flanks.  The Brits sent their best unit down their right flank where it got bogged down v. the American skirmishers.  On the other flank their troops got slowed down by the orchards & Jake's bad movement dice.  In the centre, Daren got a bit over-enthusiastic & got his Scots into a ring of fire.  

The Scots in the centre were routed by concentrated fire.  Eventually Jake's Scots on the Brit left got into action around the wood, but the Americans pulled their right flank back & held them.  On the left the Americans redeployed the column on the left of their main line through & around the wood & drove the British right back into the orchards. At this point the mysterious morale counter had the Brits verging on collapse & they conceded the battle.

This was my 3rd try at Sharp Practice. While I am still quite mystified by many of the intricacies of the rules, it is apparent that the rules can punish mistakes & reward good tactics.  While the  pace of play will speed up as the group learn the rules, I remain of the opinion that the rules are overburdened with bells & whistles that do nothing to help the use of tactical skill but slow the game down too much.  But while my taste is for simpler rules, I've seen much worse & when in Rome one must do as the Romans do.